How to Use a Mini UV/LED Lamp for Perfect Nails Every Time
Share
A mini UV/LED lamp is the perfect tool for anyone who loves gel manicures but doesn’t want to leave the house. These lamps are designed to cure gel nails quickly, ensuring a smooth and shiny finish every time. Here’s a simple guide to get the most out of your mini UV/LED lamp:
Step 1: Choose Your Gel Polish
The first step is selecting the gel polish that suits your style. Make sure the polish is designed for UV/LED curing. After applying the base coat, apply a thin layer of gel color.
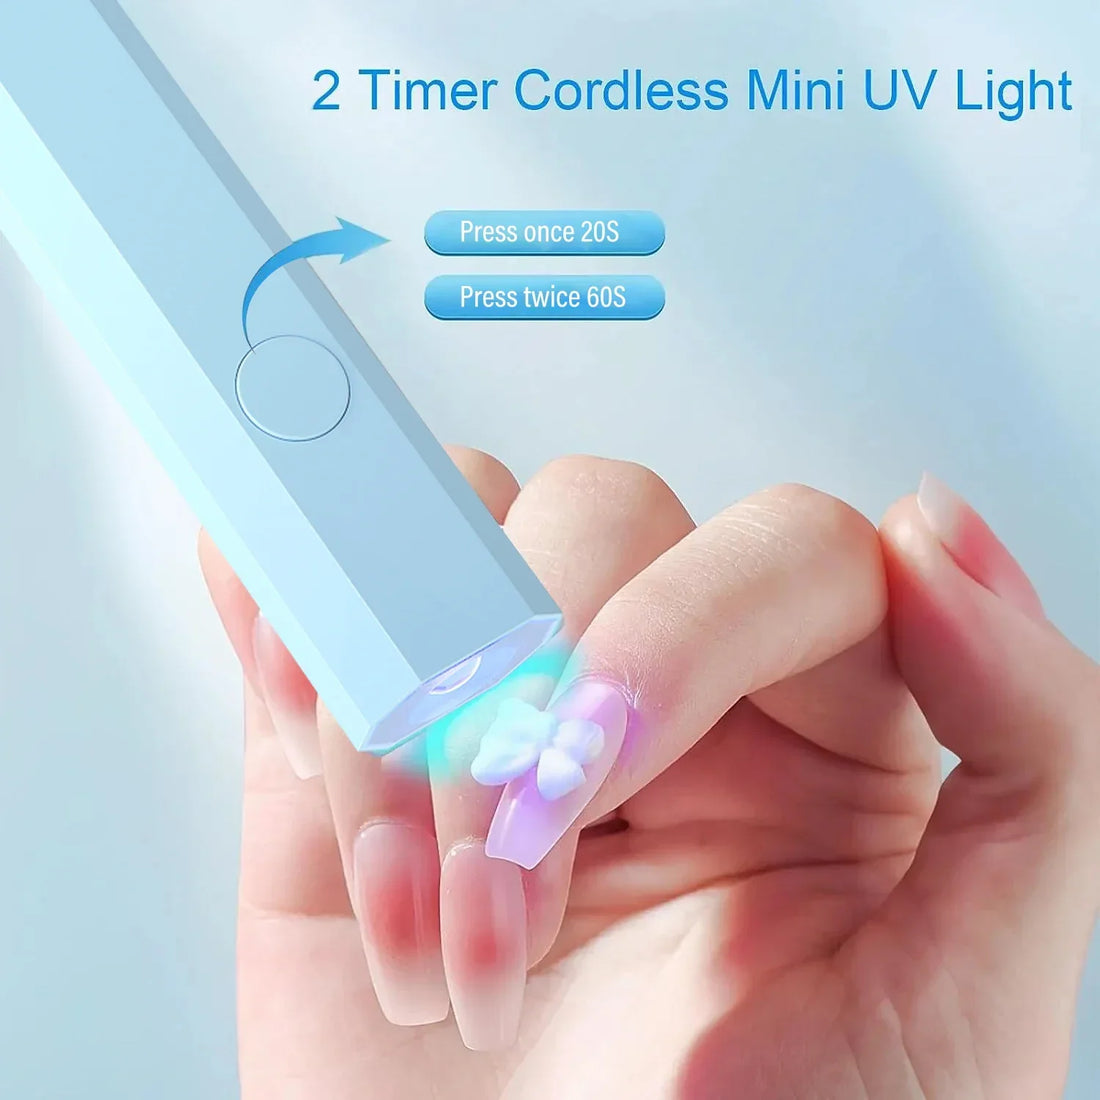
Step 2: Turn on the Lamp
Press the power button on your mini UV/LED lamp to turn it on. Most mini lamps have timer settings, usually for 20 or 60 seconds. Choose the time that suits your needs based on the instructions provided by the gel polish brand.
Step 3: Cure the Nails
Place your fingers under the lamp, making sure they are positioned correctly so that the gel gets evenly cured. Press the button to begin the curing process. The lamp will automatically turn off after the selected time. If you need additional curing, repeat the process.
Step 4: Finish and Enjoy
Once the gel is fully cured, your nails will be shiny, smooth, and ready to go. Don’t forget to apply a top coat for added shine and durability.
Conclusion: Using a mini UV/LED lamp is simple and effective. With just a few steps, you can achieve a flawless manicure at home.